Are you planning to start a live video show?
Want to know which tools you’ll need to broadcast live?
To explore the best live video apps and software to produce your own live show, I interview Ian Anderson Gray.
More About This Show
The Social Media Marketing podcast is an on-demand talk radio show from Social Media Examiner. It’s designed to help busy marketers and business owners discover what works with social media marketing.
In this episode, I interview Ian Anderson Gray, the founder of Seriously Social, a blog focused on social media tools. Ian is also a live video tools expert. His courses include Seriously Social OBS Studio and Seriously Social Wirecast.
Ian explores the best live video software for beginning and advanced broadcasters.
You’ll discover which software and add-ons offer the features you need.

Live Video Tools: The Best Apps for Going Live featuring insights from Ian Anderson Gray on the Social Media Marketing Podcast.
Share your feedback, read the show notes, and get the links mentioned in this episode below.
Listen Now
Listen now: Play in new window | Download
Here are some of the things you’ll discover in this show:
Live Video Tools
Ian’s Live Video Story
When Facebook Live started rolling out, Ian felt like everyone had access before he did, because he was an Android user (at the time) living in the United Kingdom.
In his search for a workaround, Ian discovered OBS Studio, a free tool for Macs and PCs. With OBS Studio, Ian found a way to broadcast from his computer to his Facebook page, profile, and groups. That was his entry into Facebook Live and live video.
Ian wrote a blog post on how to broadcast from your computer with OBS Studio and went out of his way to make the process as easy as possible for people to understand. He even included a tool that allows people to get the magic stream key necessary to broadcast with OBS Studio.
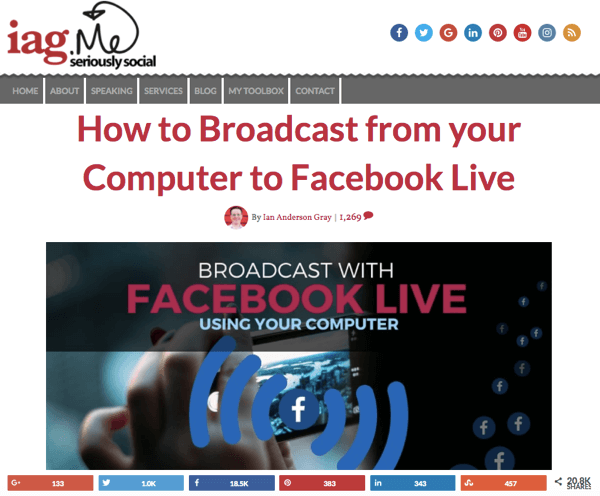
Ian’s article has had almost three million views.
Since Ian posted the article last year, the article has had just under three million views.
Listen to the show to discover what platform Ian tried using before Facebook Live.
What Stops Marketers From Going Live?
Two things stop marketers from going live: “the fear and the gear.” But Ian believes fear is what really gets in people’s way.
People are afraid they’ll say something silly or wrong. They might be worried their cat will jump on the keyboard, the webcam will fall over, and it will be a complete disaster. Or maybe they’re afraid others will think they’re a fraud.
Marketers also have issues with technology. People think they can’t go live because they don’t have this webcam, that phone, or a decent lighting setup. Those are excuses for people who are simply scared of getting on camera and communicating their message.
Everyone gets nervous, explains Ian, who’s trained as a professional singer. He feels it too. The key is to channel your nervous energy into your performance.
Channel your nervous energy into what you deliver to your audience.
If you feel nervous or scared, Ian says, it’s a good thing. It shows you care. The best performance Ian ever gave was when he was absolutely petrified before he went on stage. The worst performance was when he was entirely complacent. He thought the performance would be absolutely fine, and it turned out to be a disaster.
To help you overcome that fear, Ian recommends warming up your voice before each broadcast. Exercise the lower part of your voice up to the high part of your voice. These exercises will likely make you feel a bit more at ease.
Also, when you warm up, using the high and low parts makes your voice more engaging. By using your vocal range, you’re not trying to become a different person. You’re heightening your personality by putting more energy behind it.
Listen to the show to hear Ian’s example of a vocal warm-up and what your voice might sound like if you don’t warm up.
Basic Apps
The easiest apps for live broadcasting are web-based. Fire up your browser (Safari, Chrome, Internet Explorer, etc.), and go to the tool’s web page.

Web-based apps and tools you can access from your browser are the easiest to use.
BeLive, probably the best-known app, has an advantage because has a free trial. You can broadcast up to two 20-minute broadcasts per week, bring in guests, and have up to three people on-screen at a time within the broadcast. However, the free version works only for Facebook Live and adds BeLive branding to your broadcast.
For more flexibility and options, you can upgrade to a paid subscription. With the BeLive Lite subscription (currently $15 per month), you can add a custom logo, which is important for branding your live video show. You can also share your screen, which is great for how-to videos.
With BeLive, you can highlight comments by displaying them on-screen. You also have a green room where up to 10 guests can wait to appear on your live show. BeLive is easy to use and the platform is getting better all the time. Because BeLive is a web-based app, it works on Macs and PCs. The downside of a web-based app is that more glitches can occur than with one that’s installed on your computer.
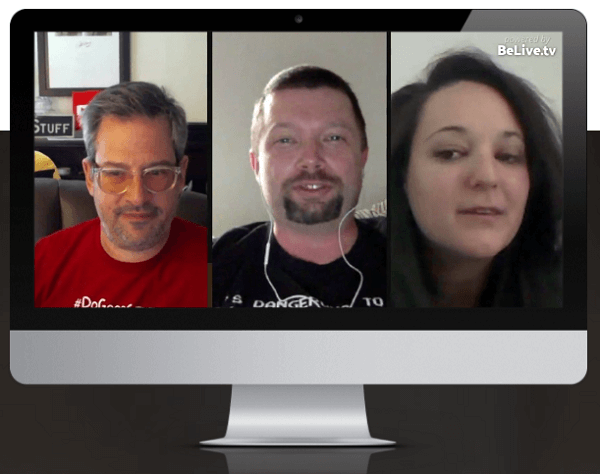
Use the BeLive web-based app for Facebook Live broadcasts.
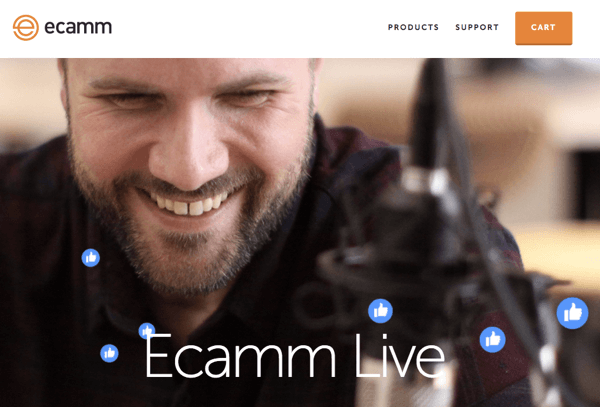
The next tool, Ecamm Live, is available only for Mac. It’s basic, user-friendly, and inexpensive. (You pay a one-time fee of $29.95.) Ecamm Live is so easy to use, you can get your live show up and running in about five minutes.
Ecamm connects directly with Facebook. You can broadcast via your profile, a page, or a group. During your broadcast, you can share your screen and drag images and video onto the screen. (The video will play automatically.) Ecamm also has a feature that helps you follow viewers’ comments without having to look at a secondary monitor or your phone during the broadcast. Another advantage is that Ecamm broadcasts a high-quality video stream.
The downside of Ecamm (in addition to being Mac-only) is that adding guests is difficult. You can bring in a guest from Skype or Zoom, but then you need to use another tool, such as Loopback, for the audio.
The disadvantage of both of these basic tools compared to more advanced tools is you have only one scene setup. So while you show your webcam, you can’t also set up a scene where you share your screen and set up a split screen. You have to set up the different scenes on the fly.
Web-based apps and tools like Ecamm Live are the easiest to use.
However, BeLive and Ecamm are great for quick, easy shows.
Listen to the show to discover how and why Social Media Examiner uses both of these tools.
Intermediate-Level Apps
Zoom and Crowdcast are mid-level apps, which Ian recommends using only if you’re already using (and paying for) them.
For example, you might already be using Zoom for video conferencing or webinars. Similar to Skype, Zoom is really a video-conferencing tool. You can chat with one person or multiple people, share your screen, and have multiple guests. Ian prefers Zoom for video conferencing over Skype because the quality is better.
The Zoom webinar add-on, which you can use to conduct a full webinar with a large audience, also enables you to live-stream video to YouTube and Facebook Live. You can save your recordings in high definition to upload or repurpose later.
The downside of Zoom is you can’t bring in images, scenes, or videos.
Crowdcast is similar to Blab, which allowed you to live-stream with multiple people and had a chat feature for a community feel. Crowdcast has chat capabilities and the ability to highlight comments, which are both great for social.
Crowdcast lets you stream to Facebook Live, Periscope, and YouTube.
With the Crowdcast $89-per-month plan, you can also stream to Facebook Live, Periscope, and YouTube. When you simulcast to YouTube, Facebook, and Periscope, and people comment on all of the different platforms, it’s a bit of a mess. With a tool such as Crowdcast or Zoom, you can tell people that’s the place where the conversation’s happening. It’s not perfect, but it definitely makes sense.
Listen to the show to hear why Crowdcast is a great platform for our weekly show.
Advanced Tools
The most powerful tools for live streaming are the downloaded apps. Ian recommends OBS Studio, which is completely free and available for Mac and PC, and allows you to broadcast to Facebook Live, YouTube, Periscope, Twitch, and basically anywhere else.
OBS Studio has the ability to set up scenes in advance. So for a live show, you may want to set up a pre-live element that says “coming soon” and shows your webcam in the background with some music playing. You’ll likely also want a scene with your webcam where you’re talking to a guest, and another that’s a screen share. With all of the shots set up in advance, your transitions look professional.
Although OBS Studio is a great way to get started, it’s not perfect. It requires a powerful computer, isn’t very intuitive, and has a bit of a learning curve. Ian tried to make using OBS Studio as easy as possible in his article.
Plus, OBS allows you to broadcast to only one platform at a time. Third-party tools allow you to take one stream and broadcast to many. (More on that in the next section.)
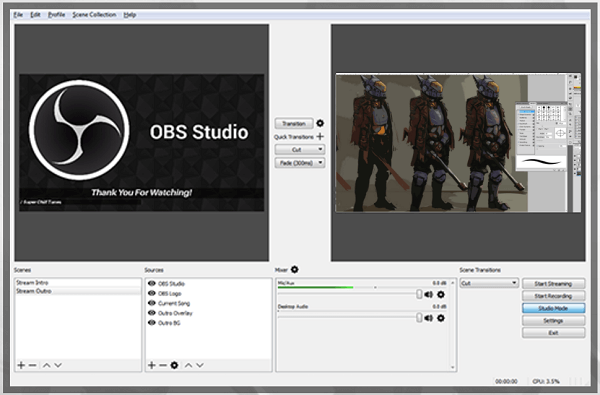
You can set up different elements in OBS Studio prior to your live stream.
Simulcasting to more than one network, whether you do it with a tool or through Wirecast (Ian’s next app recommendation), requires a powerful computer and huge bandwidth. At this level, you need an upload speed of about 10 megabits per second (Mbps). You can get away with 5 Mbps on some lower-level tools. Ian knows of people who’ve used 3 Mbps or less. However, the quality won’t be that great and you’ll have some problems.
Ian stresses that most ISPs talk a lot about download speed, but not upload speed. To ensure you have the upload speed necessary for streaming live video, Ian recommends testing your actual upload speed before you go live using a tool like Speedtest. Don’t test only once. Test each time you’re planning to go live.
Wirecast costs $495 and has a pro version for $995. Most people will be fine with the one for $495. Ian suggests starting with OBS Studio and seeing how you do. Then, if you’re serious about live broadcasting, switch to Wirecast, which requires less computing power than OBS.
I add that Wirecast is by the folks at Telestream, which makes ScreenFlow for Mac.
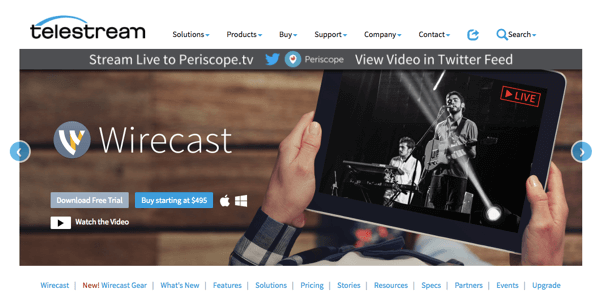
Wirecast lets you broadcast to Facebook Live, Periscope, and YouTube.
Wirecast is available for both PC and Mac. At this level, operating system doesn’t really matter, Ian says. Building a good PC may be less expensive than a Mac. You need a fast processor, a lot of memory, and, if you can, a dedicated graphics card. A lot of the pros use Wirecast. The next level would be a dedicated computer for live streaming, but as long as you have a decent computer, you should be fine with Wirecast.
Wirecast is more powerful than OBS Studio and does multicasting so you can broadcast to Facebook Live, Periscope, and YouTube, although there are some restrictions with Facebook. Wirecast allows you to record in high definition (which OBS Studio can also do but Wirecast is better). Plus, Wirecast is fully integrated with Facebook Live, so you don’t have to mess around with stream keys.
With OBS Studio, you need to set up a live video in Publishing Tools on your Facebook page. Then Facebook will give you a stream key, which you need to copy and paste into OBS Studio. Wirecast connects with Facebook directly. In Wirecast, you choose where you want to go (your Facebook page, profile, or group), and Wirecast sets up the post for you. Wirecast can even schedule live-streaming posts by tapping into the Facebook API to automate some cool features.
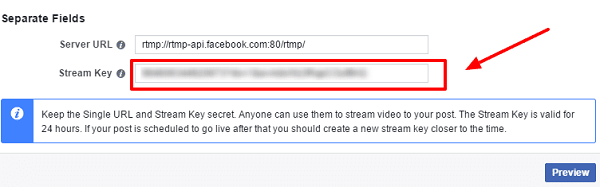
You need a stream key to set up Facebook Live streams with OBS Studio.
One more option is Lightstream, a relatively new tool. Ian thinks of Lightstream as Wirecast lite or maybe BeLive on steroids. (Note: Lightstream has nothing to do with Wirecast or BeLive, but shares attributes with both of these tools.) Lightstream is browser-based and is completely free. You can bring in guests and share your screen, as well as add graphics, images, and videos.
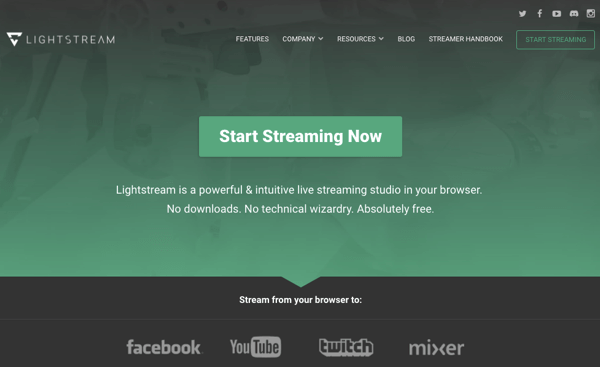
Lightstream lets you bring in guests and share your screen, as well as add graphics, images, and videos.
Lightstream is a platform in progress but it’s definitely worth checking out, especially if you’re not quite ready to invest in Wirecast or you’re concerned about the learning curve with OBS Studio.
Listen to the show to discover how Wirecast automates your Facebook Live posts.
Other Resources
Ian suggests focusing on only one network at the beginning. However, when you reach the stage where you want to broadcast to multiple platforms (such as YouTube Live and Periscope), you can use a tool such as Switchboard. This tool, which has free and paid versions, will take the stream (from OBS Studio or Wirecast) and broadcast it to Periscope, YouTube, or whatever network you want.
Set up a Switchboard account and you receive a stream key and a URL to enter into OBS Studio or Wirecast. Then you broadcast to Switchboard, which in turn broadcasts your streaming video to the networks you choose.
The free version doesn’t allow you to broadcast to Facebook and another platform. If you want to do that, you need the paid version, which is $25 per month.
Remember, simulcasting takes up a lot of bandwidth and processing power, especially if you’re bringing a guest from Skype or Zoom into Wirecast or OBS Studio. However, a tool such as Switchboard requires you to broadcast to only one platform and takes care of the simulcasting to multiple platforms for you.
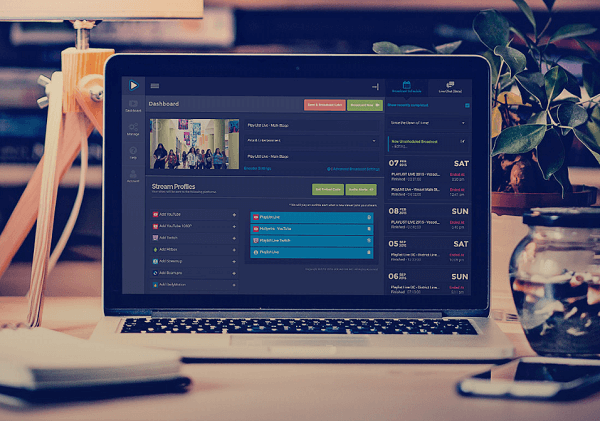
Broadcast to multiple networks through Switchboard.live.
Another resource called Live Leap checks your Facebook profile, page, or group to see when you’re going live next. Then, when you start your broadcast, Live Leap automatically tells people about your broadcast at whichever destinations you’ve chosen, such as your Facebook profile, your Twitter account, and LinkedIn.
In a nutshell, Live Leap tells more people about your live broadcast, so it amplifies your content. And it’s very easy to set up and use.
Whenever Ian schedules the broadcasts for his Monday live show in advance, he also creates and schedules posts to go out via Buffer the moment he goes live. Live Leap automates this process. Plans start at $19 per month.
Ian uses Live Leap to share his broadcasts automatically with his private Facebook group on online video, his business Facebook page, and his profile. The app is selective and you have full control to change your destinations whenever you want.
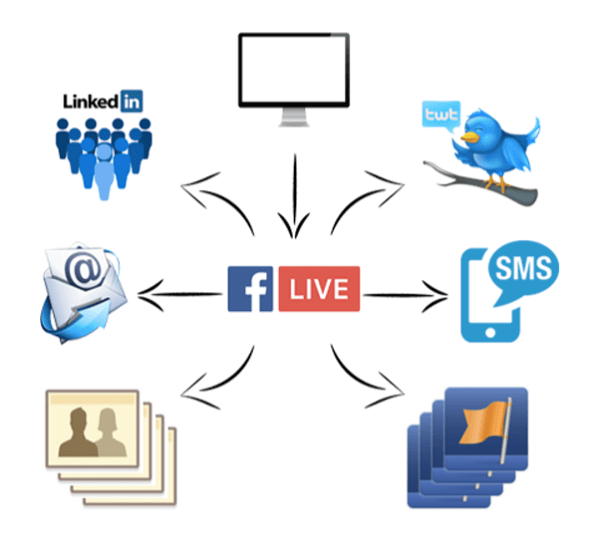
Live Leap automatically notifies your network whenever you go live.
I ask what tool to use when you’re broadcasting on your desktop and want to show your mobile device screen. Ian recommends Reflector 2. It’s available for PC and Mac and is compatible with iPhones and Androids. Connect your phone wirelessly (Google Cast for Android or AirPlay for iOS), and your mobile screen will appear in your live video screen.
You can use Reflector 2 to share your mobile screen with your audience via BeLive, OBS Studio, Ecamm, or Wirecast. Your audience will see you on-screen, as well as your mobile phone screen. Reflector 2 costs $14.99.
Listen to the show to hear how Joel Comm recently used Reflector 2.
Discovery of the Week
GIPHY Says is a cool new app from GIPHY that turns your photo and speech into a personalized GIF.
With GIPHY Says, social media managers can spice up replies to their community. For instance, create a GIF that says, “Thanks a lot!” or “That’s awesome!” or “I’ll see you there!”
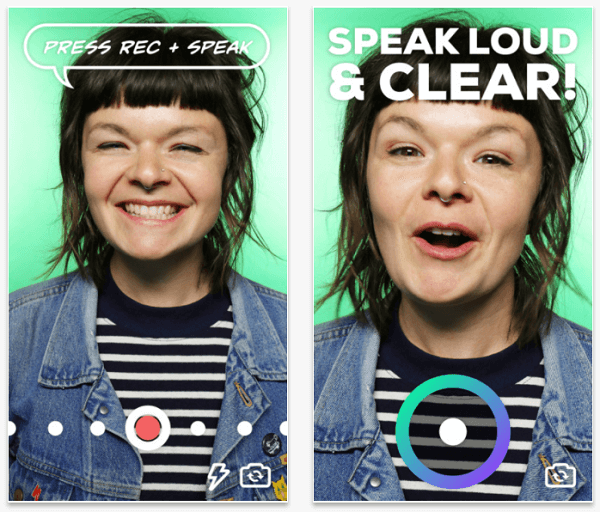
Turn your comments into a GIF with GIPHY Says.
When you hit record in the GIPHY Says app, it doesn’t record the audio. Instead, it takes dictation and turns what you say into GIF text. Place the text in different places on your image and format the text in various styles, such as comic book character bubble-style speak or big bold letters. Swipe left to right to browse the themes. After you create your GIF in GIPHY Says, download the image and post it anywhere you like, such as a reply to someone on social media.
GIPHY Says is free. Although the GIPHY app is available on iOS and Android, GIPHY Says is only for iOS at this time. Find it in the App Store.
Listen to the show to learn more and let us know how GIPHY Says works for you.
Listen to the show!
Listen now: Play in new window | Download
Key takeaways mentioned in this episode:
- Learn more about Ian on his website.
- Find out about Ian’s courses: Seriously Social OBS Studio and Seriously Social Wirecast.
- Follow @iagdotme on Twitter.
- Read Ian’s blog post on how to broadcast from your computer using OBS.
- Check out your actual upload speed with a tool like Speedtest before you go live.
- Learn more about OBS Studio, BeLive, and Ecamm Live.
- Check out Loopback.
- Explore Zoom, Crowdcast, and Skype.
- Learn about Wirecast, ScreenFlow, and Lightstream.
- Take a look at Switchboard, Live Leap, and Reflector 2.
- Check out GIPHY Says.
- Watch our weekly Social Media Marketing Talk Show on Fridays at 10 AM Pacific on Crowdcast or tune in on Facebook Live.
- Learn more about Social Media Marketing World 2018.
- Download the 2017 Social Media Marketing Industry Report.
Help Us Spread the Word! Please let your Twitter followers know about this podcast. Simply click here now to post a tweet.
If you enjoyed this episode of the Social Media Marketing podcast, please head over to iTunes, leave a rating, write a review, and subscribe. And if you listen on Stitcher, please click here to rate and review this show.


ليست هناك تعليقات:
إرسال تعليق